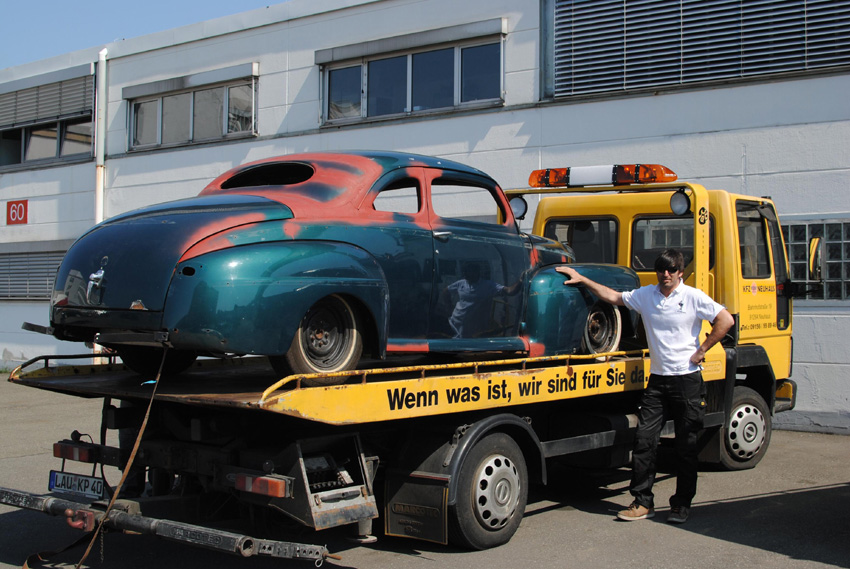
presented by your TV host Flocki
and here's the step-by-step chopping guide
measuring and marking where to cut
putting in some bracing is helpful if you want doors to close on your chopped ride
making nice straight cuts along the marks
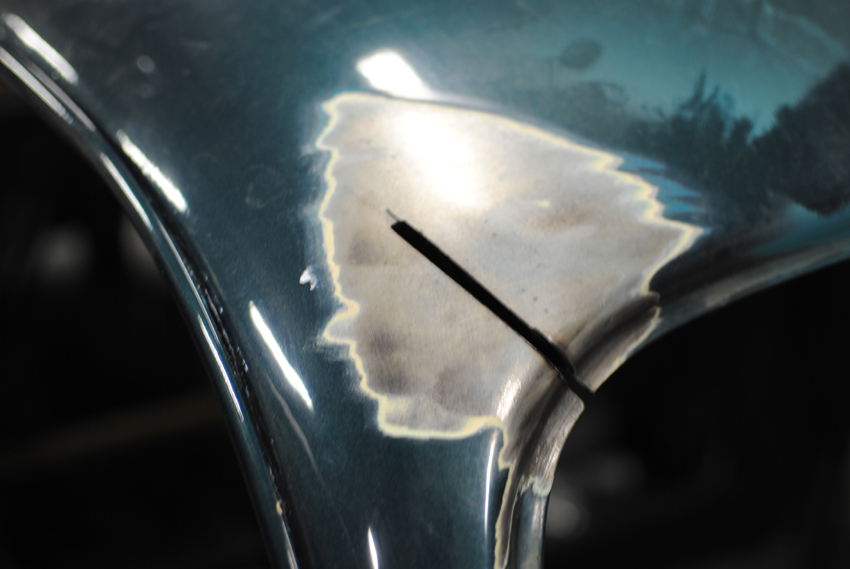
relief cuts so the A-pillars can be bent outwards slightly
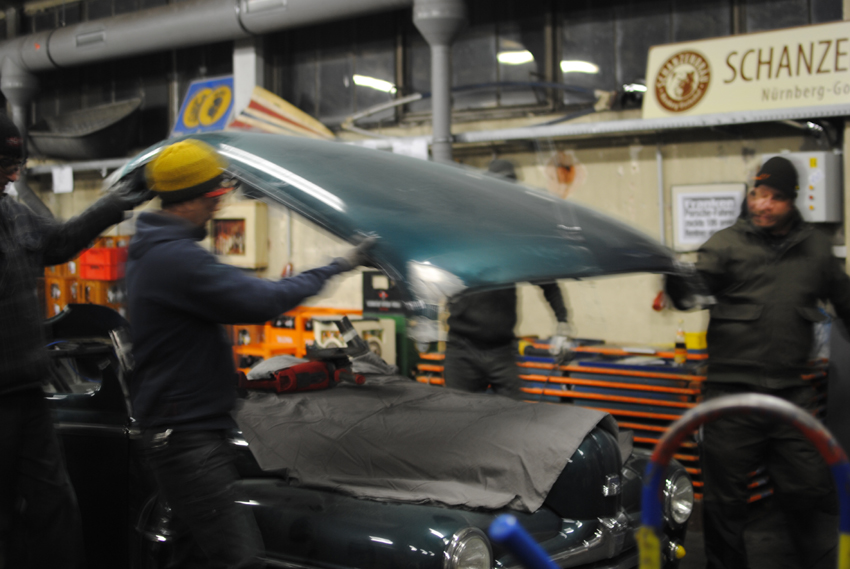
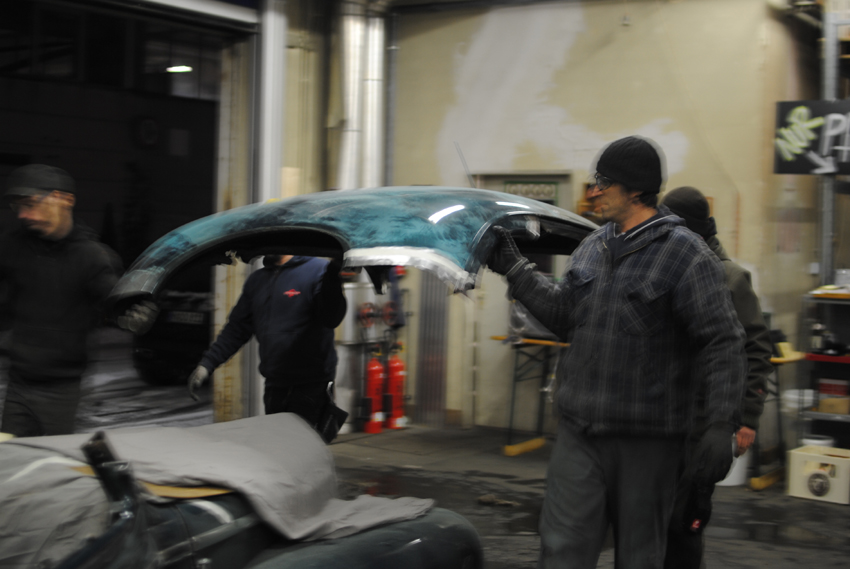
four... three... two... one... zero, Houston, we have lift off
don't lose your head at this stage
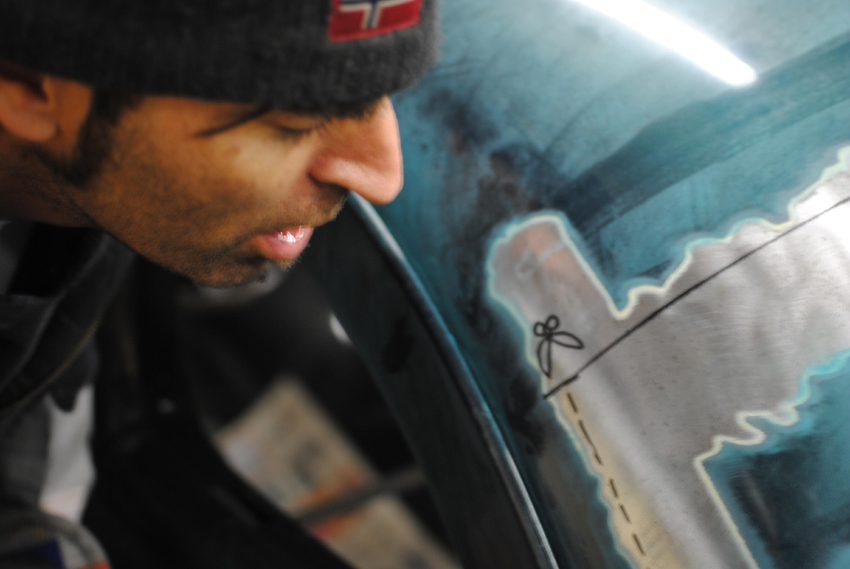
somebody's lost something?
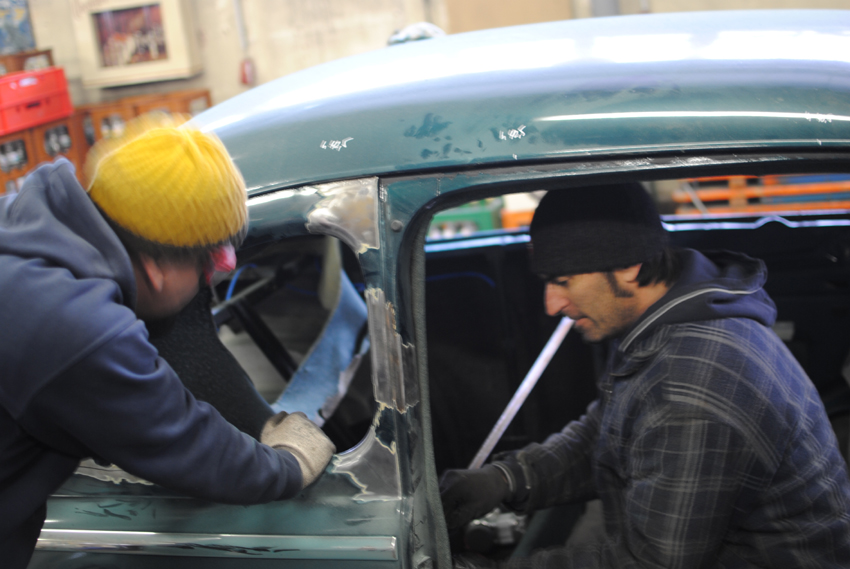
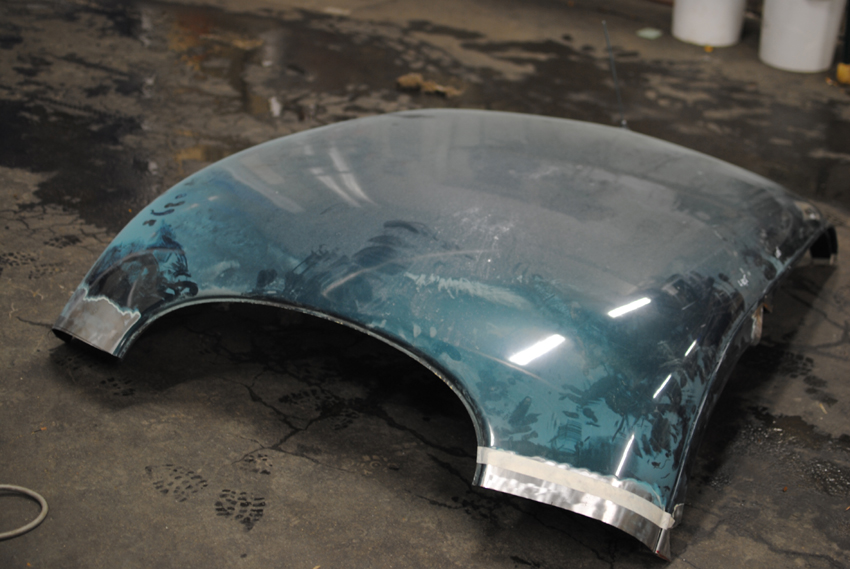
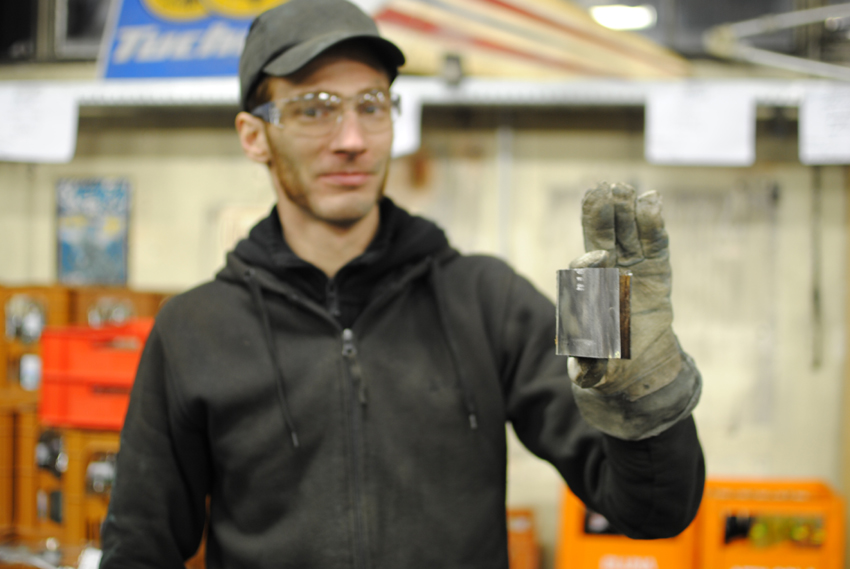
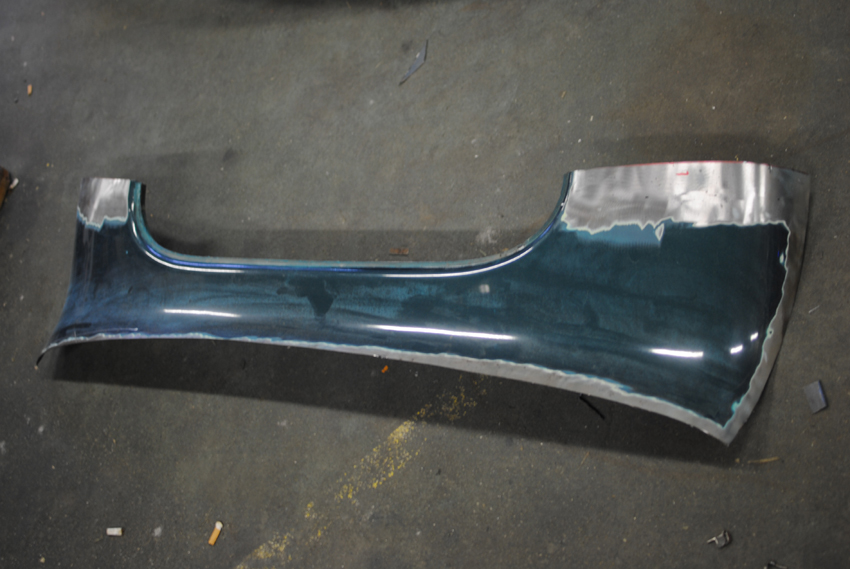
next is cutting off the pillar pieces
not a lot to cut, really
using a saw makes for clean cuts
that's how much went out
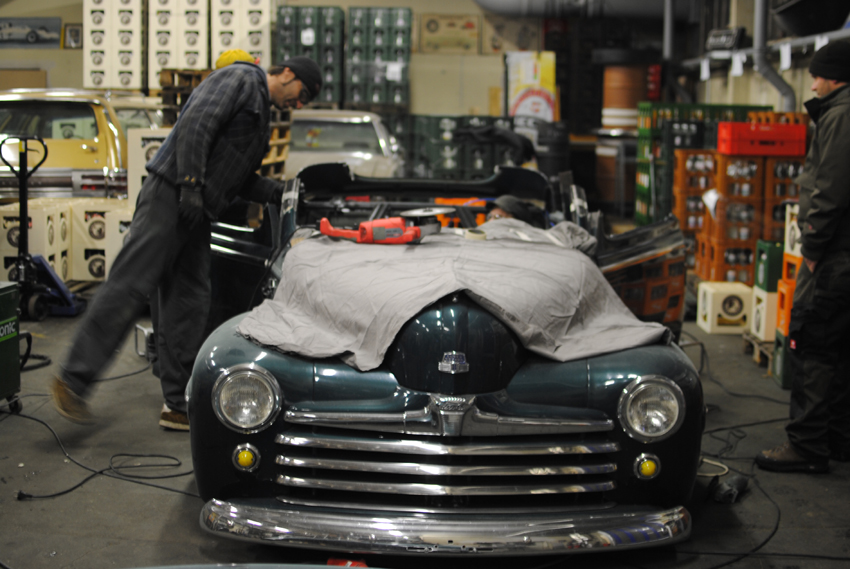
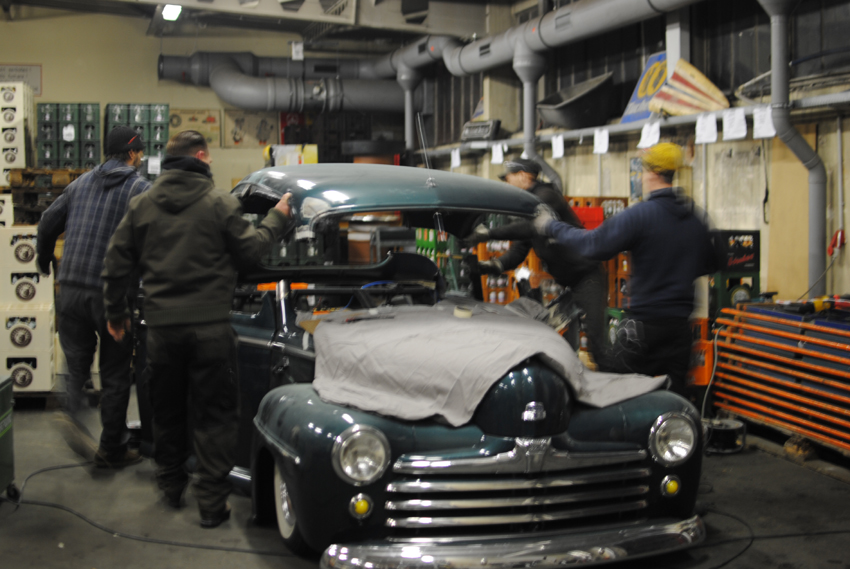
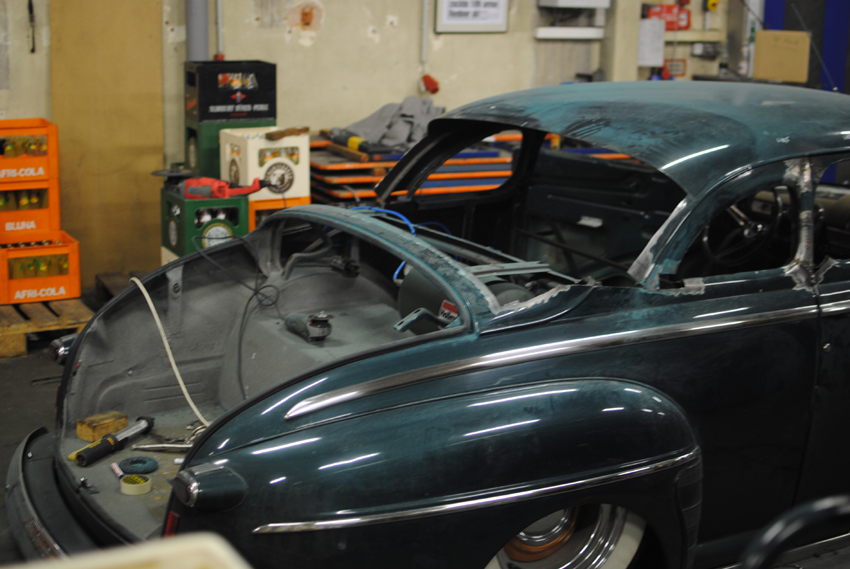
let's see how it fits
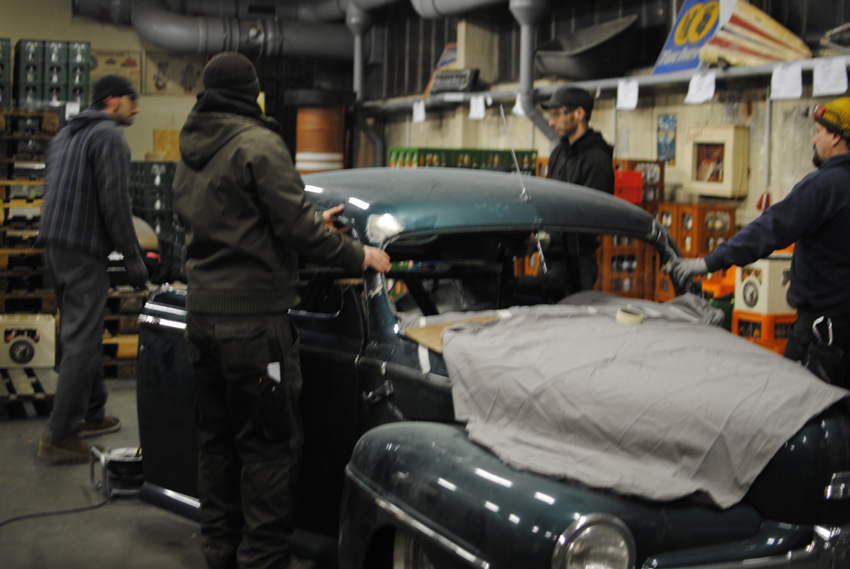
okay, not bad

but something's not right along the rear
so some more measuring is needed
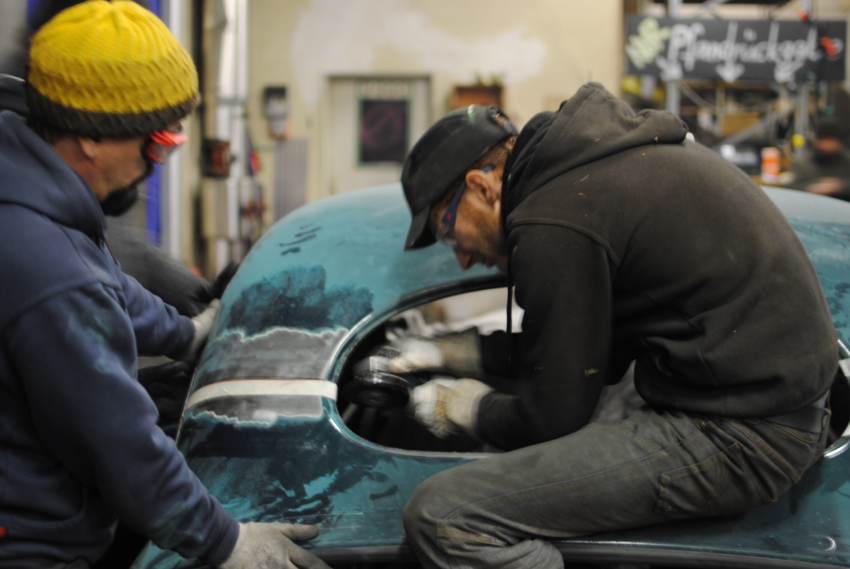
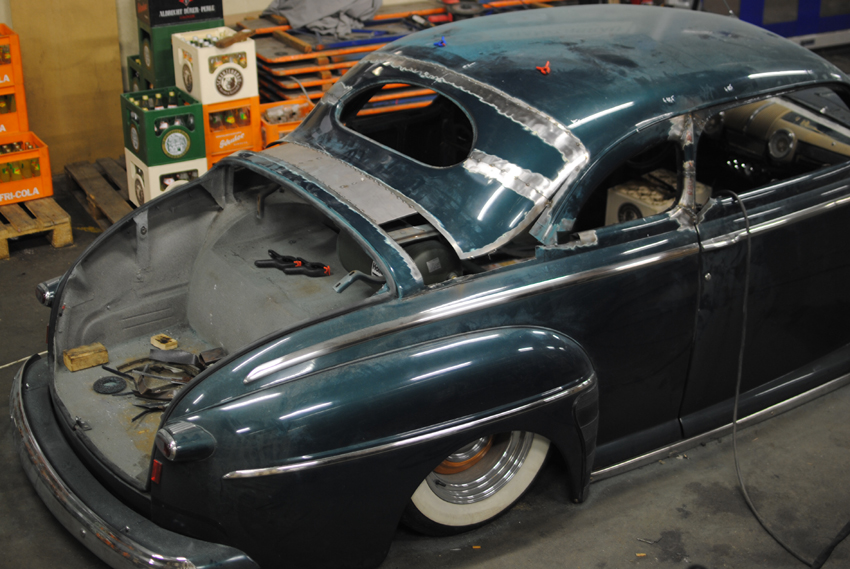
off goes the roof again and some more grinding is done
and still more
try again
this time it fits snugly
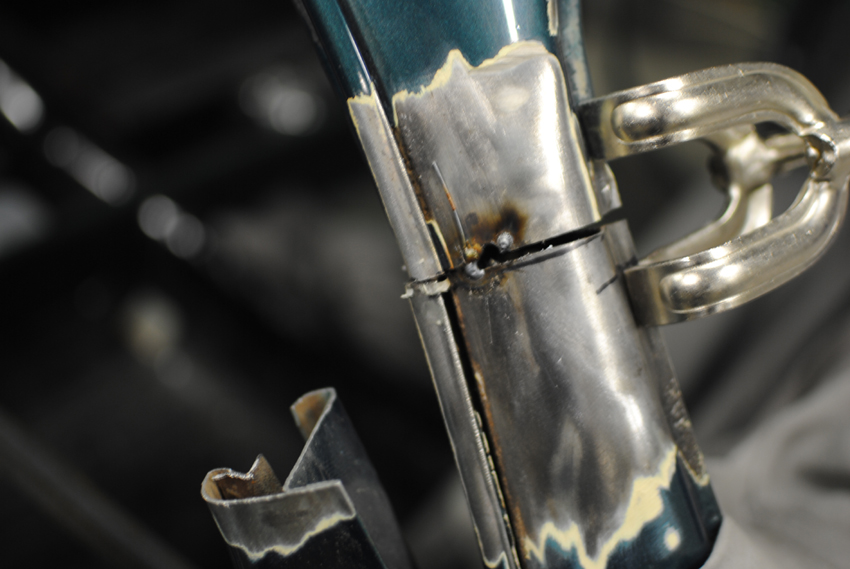
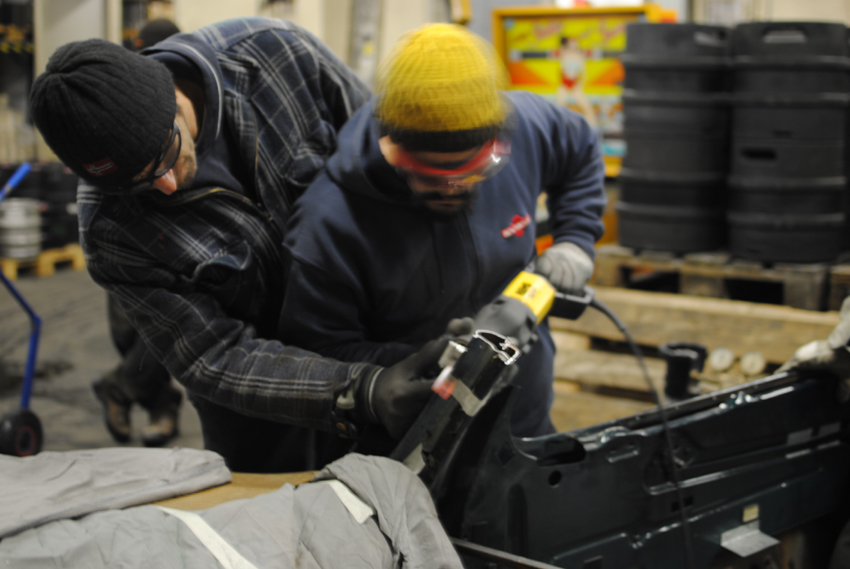
tacking the A-pillars
tacking the C-pillars
put on your welding gear and go for it
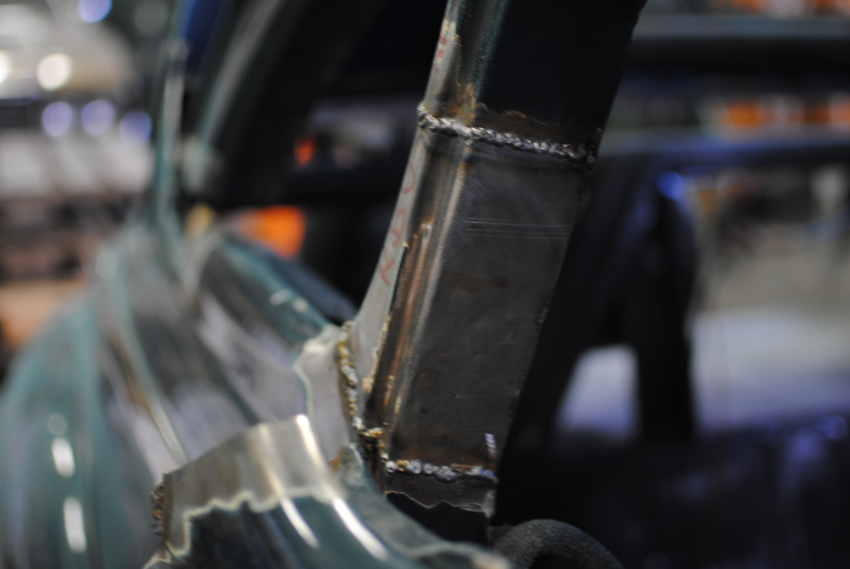
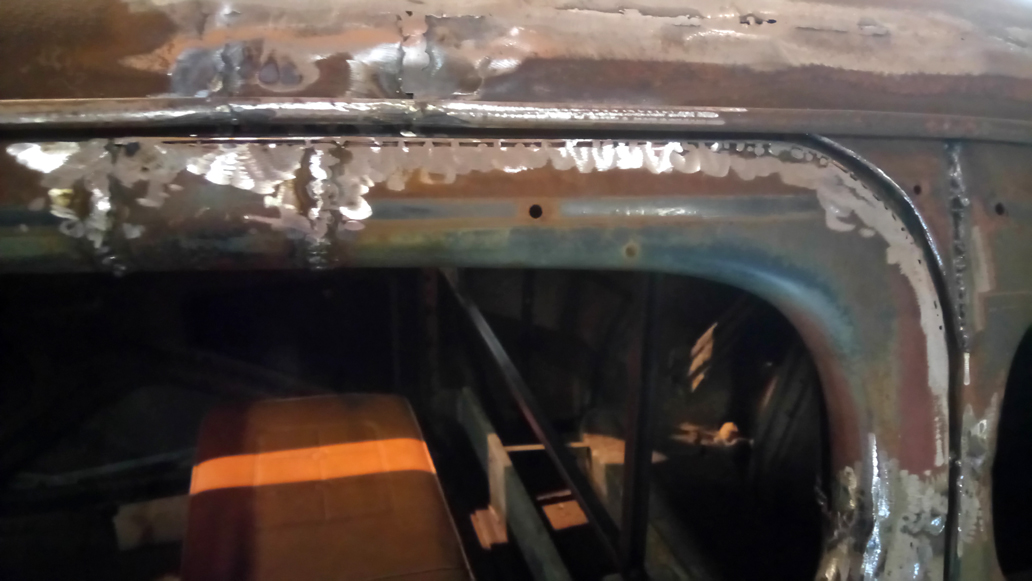
welding the A-pillars solid and rebuilding the slightly slanted B-posts
and you're almost done, sorta kinda like...
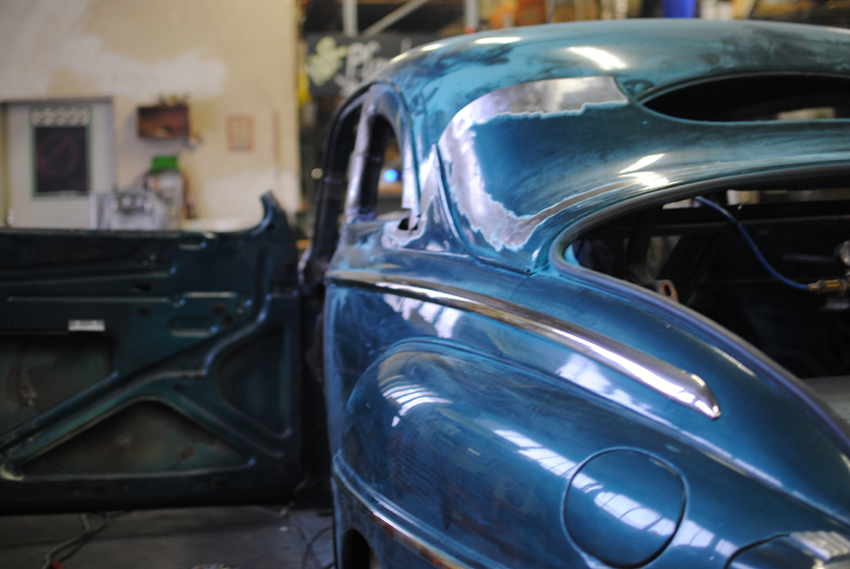
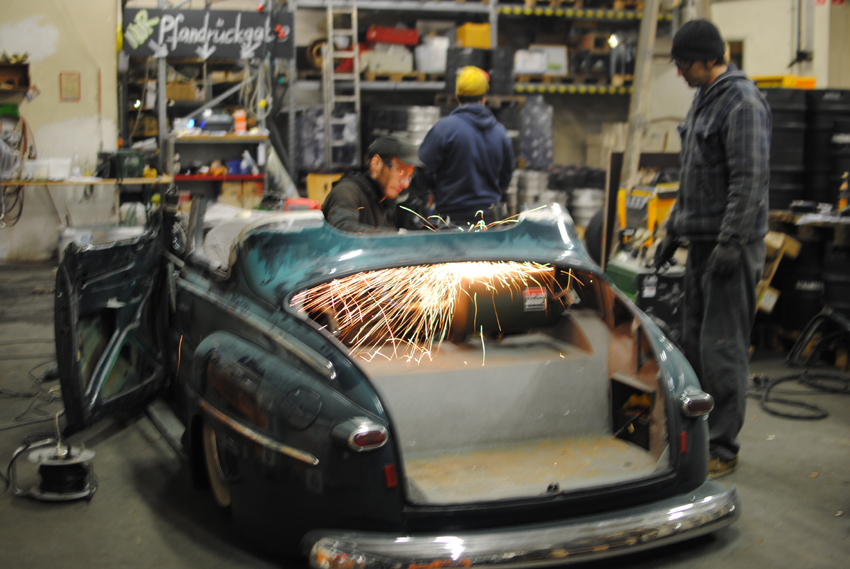
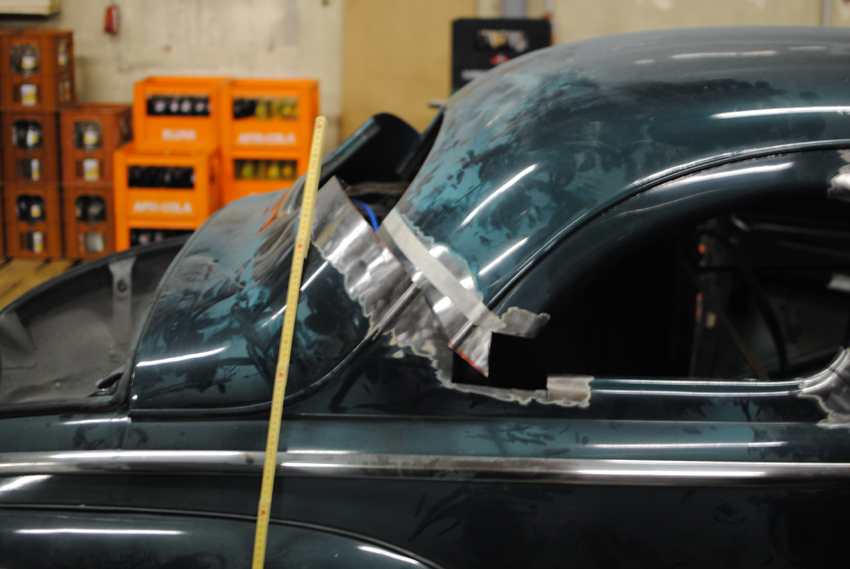
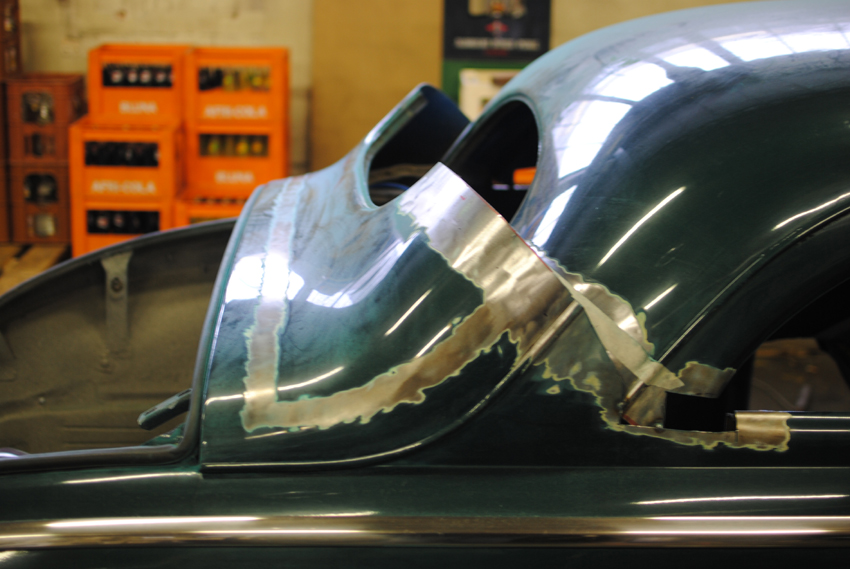
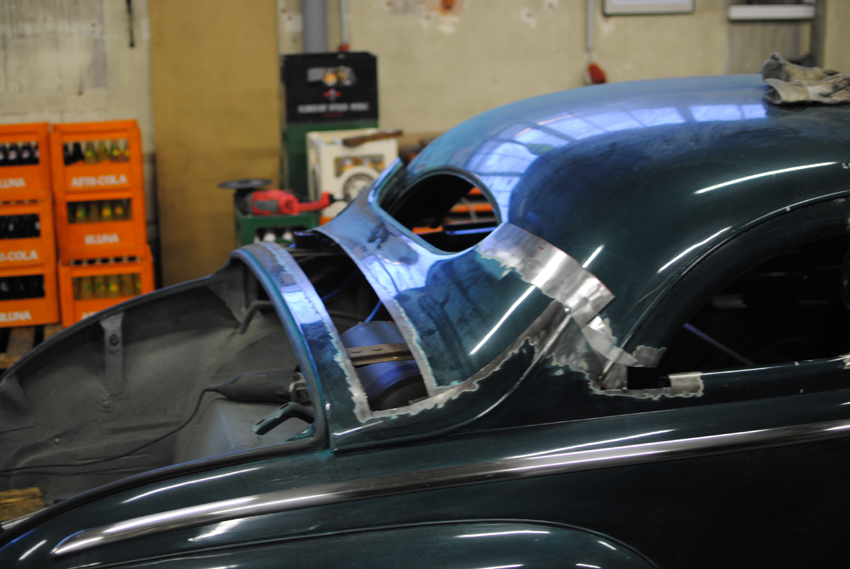
if it weren't for the trickiest bit - the rear window area
which requires some serious cutting before anything can be trial fit
lower rear panel now free to move but like this the curves won't work
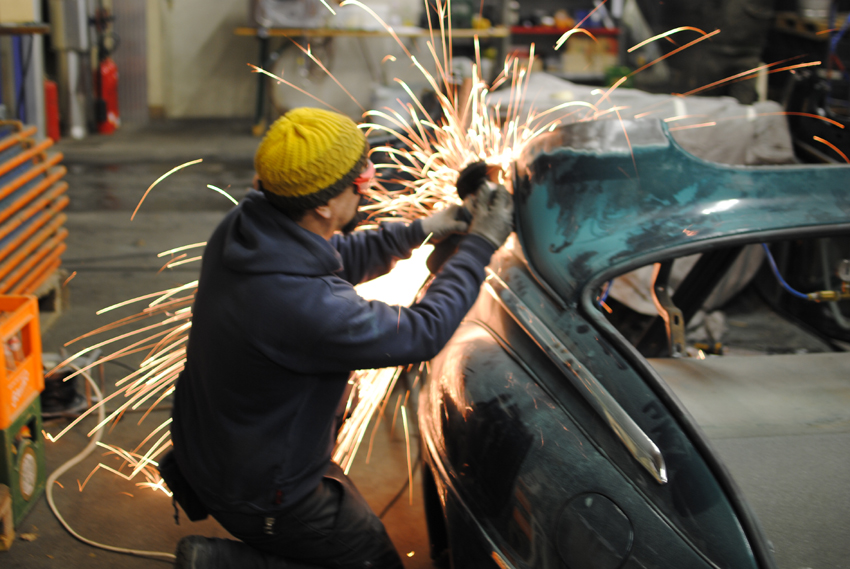
more metal around the package tray area is removed
until finally the whole window frame is cut out
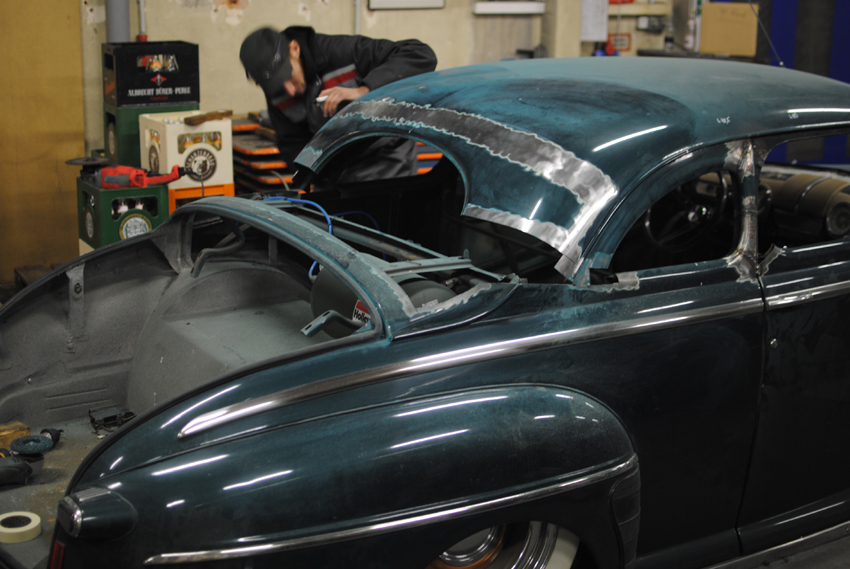
and welded back in higher to keep the flow of the roofline
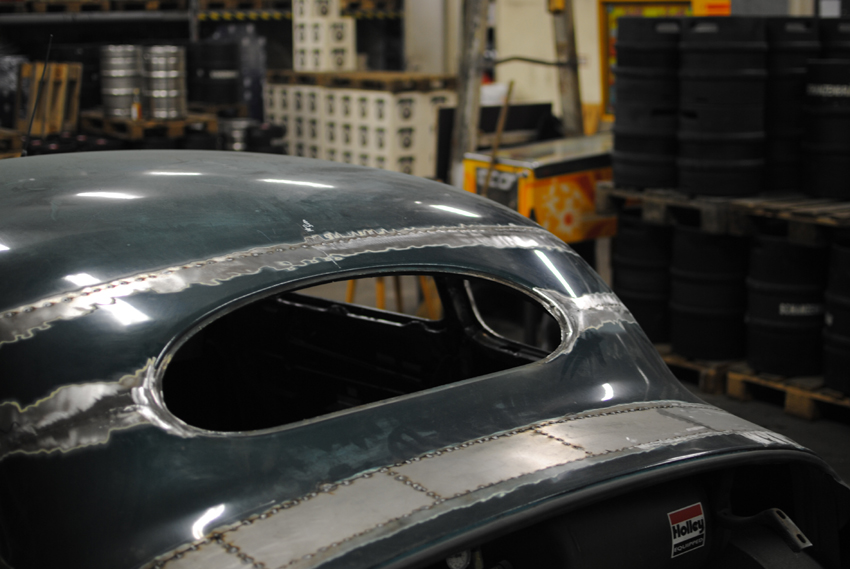
chopped rear window is now up, closer to the curve in the top
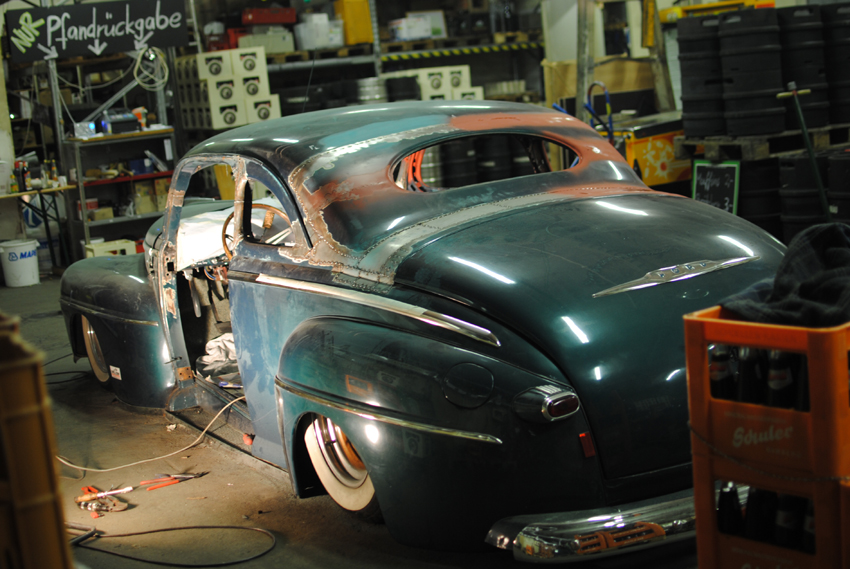
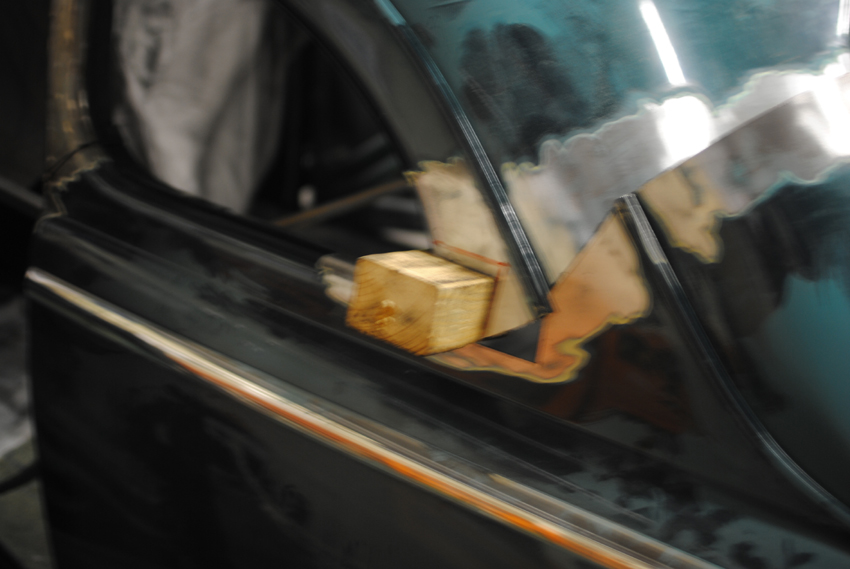
next is patching all the little holes
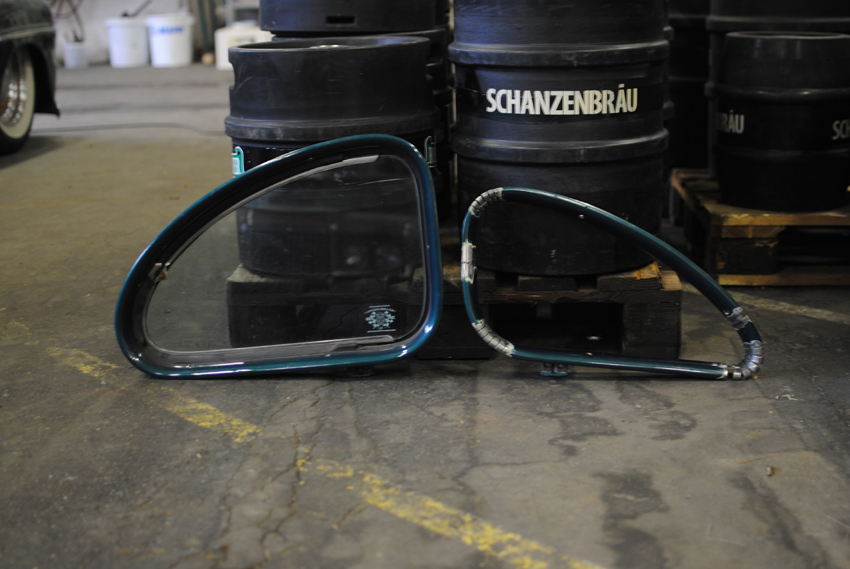
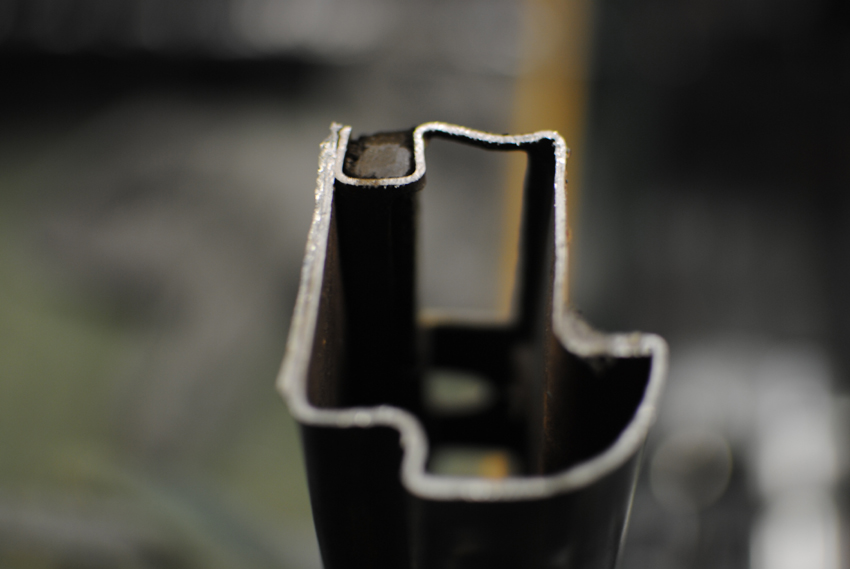
and then on to the million and one details, like the inner window frames...
.jpg)
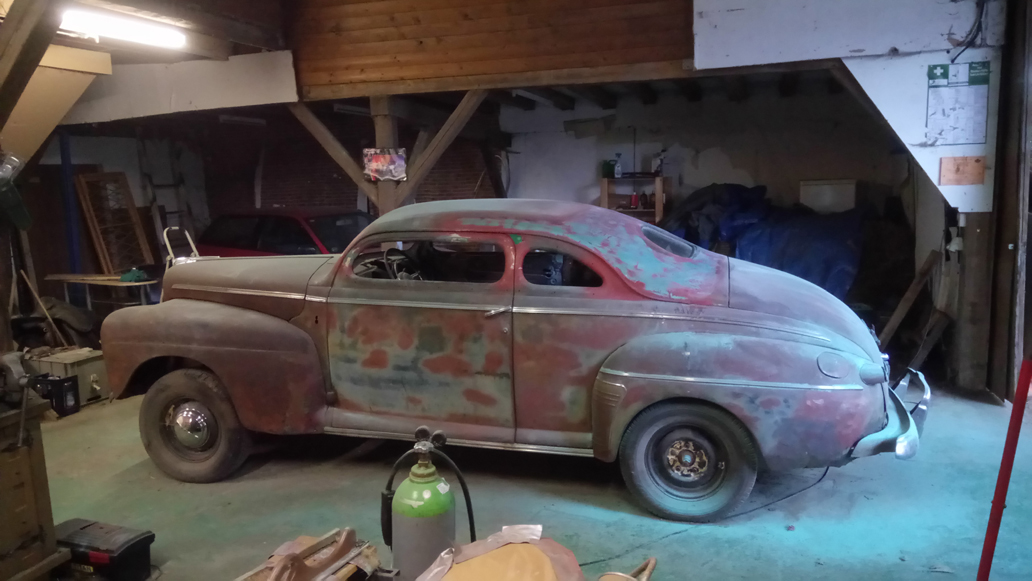
perfect - why? - because it looks as if it shoulda looked like this when fresh from the factory
click pic to see the pro shots
...
or follow the pickup truck to see her painted